
 Construction began with stock preparation. Usually I try to avoid dimensioning stock, but my usual lumber sources don’t carry surfaced quarter-sawn white oak. I thicknessed my stock and set the base material aside to concentrate on the top.
The top is a full inch thick, giving it a pleasant heft and accentuating its horizontal line. I took some time arranging boards until satisfied with the design then glued it up and moved on to the base.
With the exception of the front top rail dovetailed into the tops of the legs, mortise and tenons are used to join the base. Since much of the base’s joinery centers on the legs, I began there, cutting the legs to size and spent some time arranging them until I was satisfied how they would display. I cut the mortises with a 3/8 straight bit in the router, guiding the cuts with a straight-edge guide. Cutting the through mortise from both sides ensured clean openings and exit, but care needs to be taken to ensure the same reference edge is used when cutting either side. Otherwise the two cuts might not line up.
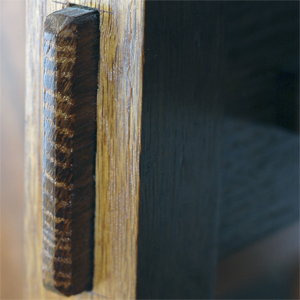
Cutting the aprons was straightforward, but the through tenons on the bottom stretchers required extra care. I left the tenons a little long during the tedious process of fitting the joints. Once I had a good fit, I trimmed them to length and chamfered the ends. False tenons here would have produced the same pleasing effect and reduced the amount of time and effort required to fit the bottom stretchers. Once I had the side aprons and bottom stretchers fit, I cut mortises for the slats, then fit the slats.
The bottom front stretcher rests in double tenons oriented to create a long-grain to long-grain joint. Since these mortises were small, I skipped the router and chopped them with a mortising chisel. With the front legs fit to the bottom front stretcher and clamped together, I put the top front stretcher in place and marked the dovetail locations on the pins, then cut the sockets. The two drawer dividers are mortised into the front top and bottom stretchers.
A telescoping web frame supports the drawers. The frame, cut from the worst of my stock, is mortised together, the back left unglued to allow for seasonal wood movement. Two full-length dividers housed in dadoes guide the drawers.The drawers themselves are soft-maple sides and back, with birch plywood bottoms. I used half-blind dovetails at the front and through dovetails at the back.
Once my parts were cut and fit, I sanded everything through 220 and dry fit everything outside in preparation for fuming with ammonia. Ammonia reacts with tannins in the wood to darken it. I scabbed together a frame using 1×2 stock and drywall screws, then stapled plastic sheeting to the frame. Since the tent was long and shallow, I used two glass pie pans to hold the ammonia, ensuring a more even spread. Offcuts left in the tent allowed me to check how things were darkening. Fresh from the tent, the wood was a listless gray green, but a quick wipe of boiled linseed oil revealed the true color change. Every few hours I’d pull an offcut, wipe it down, then see how dark it had become. Once I was satisfied with the color, I let the piece air out, then disassembled for finishing.
Pre-finishing my parts made for slow progress, but it meant I didn’t have to worry about lap marks or working finish evenly into inside corners and hard-to-reach spots. With the table disassembled after fuming, I hand-sanded at 220 grit, then applied a coat of boiled linseed oil, wet sanding with 400 grit. The slurry formed by the oil and dust helped fill the oak’s open pores. After letting the oil dry overnight, I wiped on three coats of garnet shellac before wetsanding the the shellac with 400 grit. A coat of dark paste wax topped things off.
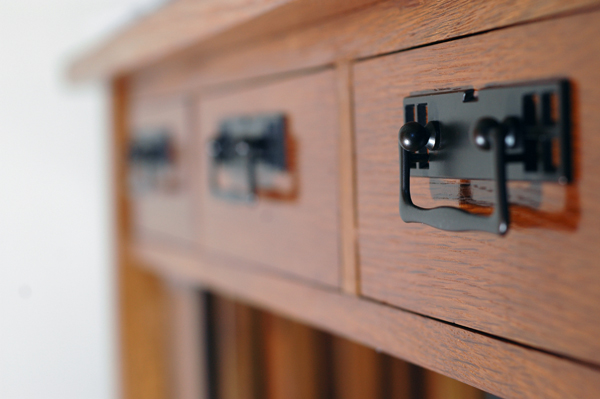
My last step before installation was to drill the drawer fronts and install the hardware (available here).

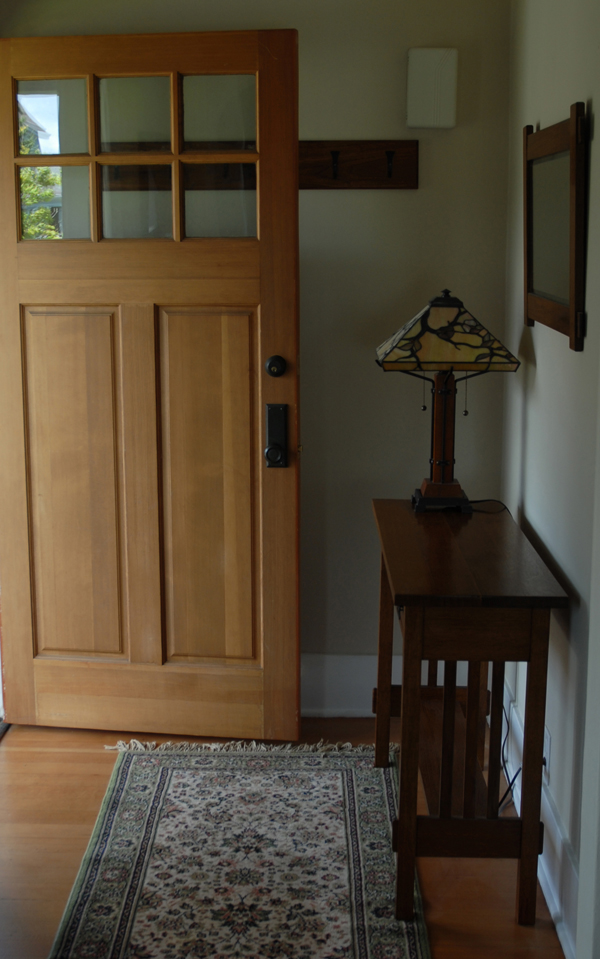
The completed hall table in place.
Pingback: Craftsman Hall Mirror--Construction | 1910 Craftsman