 I’ve been contemplating a credenza build almost since we moved in, a place to store office supplies and files, but it hasn’t been a priority. Recently in between projects, I decided on an interim solution for my storage woes. A small chest of drawers sized to fit on one of my magazine stands could serve to hold the odds and ends that haven’t found a home in my office yet and could be repurposed after that happy day in the future when I’ve built that credenza.
A small chest is an interesting project for a number of reasons. The small scale makes it a manageable effort while the joinery involved–drawer and carcase construction, web frames, veneering–can also be used to build larger chests, making it an ideal way to work through the challenges and techniques of chest building before attempting larger pieces. The small scale also provides a chance to use smaller pieces of figured wood.
While I often model a project in SketchUp before building, I skipped that step here since I’d built a similar piece for my tool chest. The shelf space gave me my approximate dimensions–16″w x 9″h x 10″d. Dovetails join the case and stopped dadoes house the webframe.
Dovetails join the case.
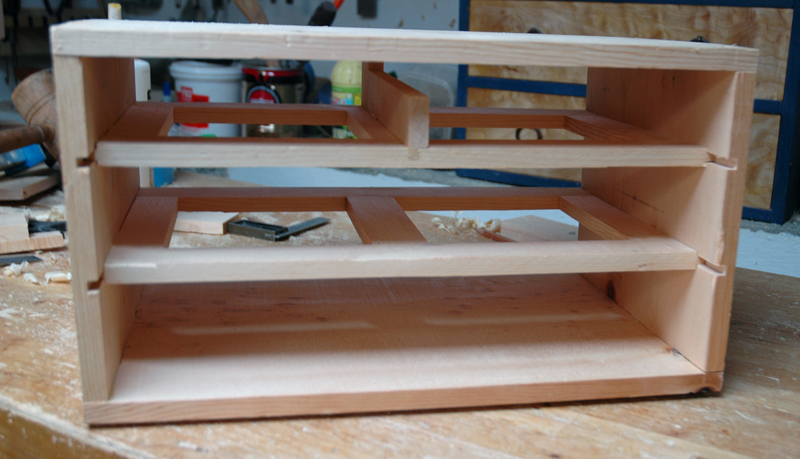
The assembled case before rabbeting the back for the frame and panel. The webframe sits in dadoes with the vertical divider mortised into the case top and upper webframe.
I began by thicknessing my stock (common pine) to 1/2″, cut the case parts to size, then cut the dovetails. Usually I remove waste using a coping saw, but I tried the bandsaw this time–definitely an approach I’ll try again. With the dovetails cut, I decided on drawer spacing and cut the dadoes to house the web frame using a 1/4″ upcut bit in a router guided by a basic dado jig.
With the case joinery complete, I glued up the case and turned my attention to the drawers. Since these won’t hold a lot of weight, I settled for simple rabbets to join the sides to the front and back and rabbeted out the bottom to hold a 1/4″ plywood panel. After gluing the panels in place, I applied some cork drawer liner.
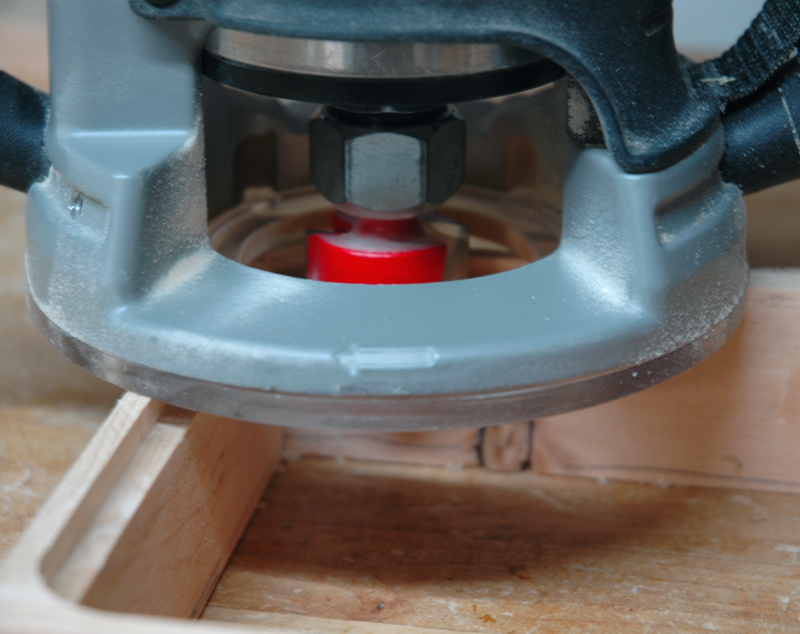
Routing a 1/4″ x 1/4″ rabbet in a drawer box to accommodate the bottom panel
While I still have the router set up for rabbeting, I plow a rabbet in the back of the case for the frame and panel back. A simple plywood panel would also serve for the back, but a frame and panel or shiplapped boards is a little more refined.

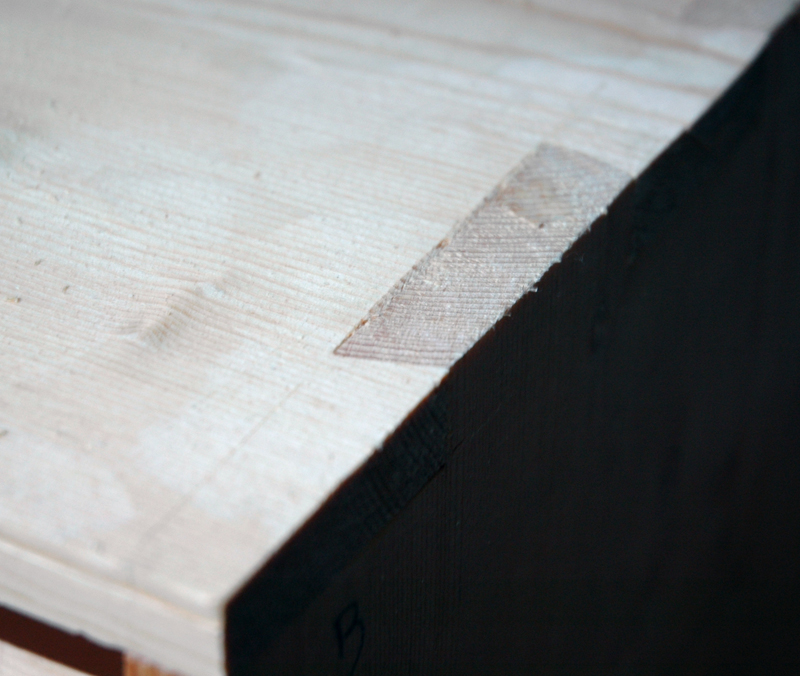
A wedge is hammered into the gap and cut flush.
Once the case comes out of the clamps, I can address the gaps in my dovetails–I’m an indifferent dovetailer at best, but it won’t matter once I’ve filled gaps, smoothed everything out, and painted. To patch my gaps, I cut small wedges with a chisel, then hammer them home. Once the wedges are seated, I cut them flush.

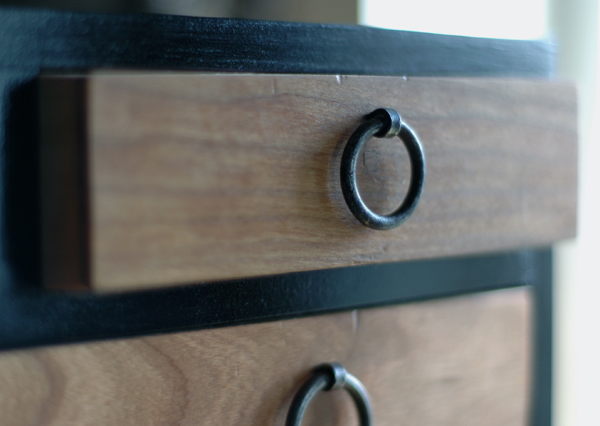
The drawers are rabbeted together, then the face is veneered. The rabbets can be pinned with bamboo skewers to reinforce the drawers for heavier loads.
A smoothing plane makes quick work of fitting the drawers, then I cut veneer for the drawer faces at the bandsaw from some scrap cherry, setting the fence about 1/8″ from the blade. I jointed the veneer faces by hand and glued and clamped them to the drawers boxes. When the glue dried, I trimmed them to fit and planed for consistent thickness. With the drawers fit and finished, I marked their final positions, then cut drawer stops and glued them to the webframes. Only then did I glue the back into its rabbet. After some touch up on the drawer faces for final fit, I applied a coat of boiled linseed oil and left them to darken in the sun outside for a few hours.
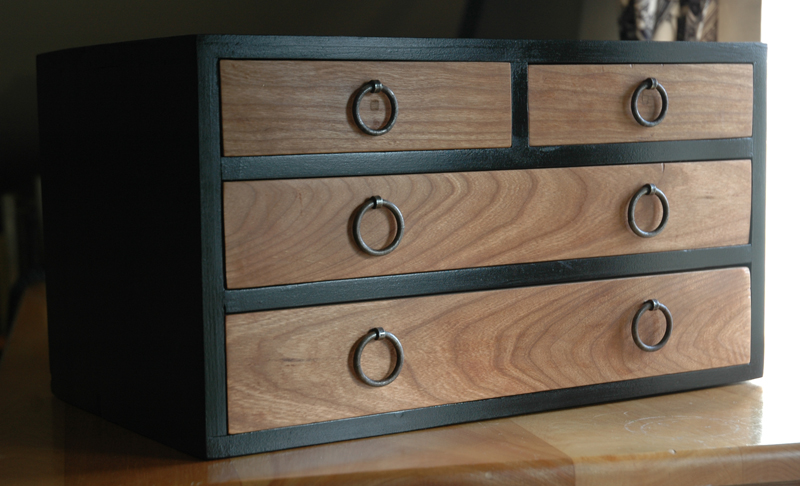
The completed chest.
The case was sanded through 220 grit then received a couple of coats of black milk paint. I wanted to suggest a lacquer finish often used for small tansu, so I sanded the dried paint through 220, applied a coat of BLO, burnished with steel wool, and added a thin coat of blonde shellac to give it some sheen.